Lab:通知展示组件
任务描述
我们将创建一个包含父组件和子组件的通知展示应用:
- 父组件:负责存储一个模拟从网络获取的通知对象数组,并逐个传递给子组件。
- 子组件:接收来自父组件的通知内容,并以弹出的形式展示每条通知。
目录结构
在我们的项目中,文件和目录应该按以下结构组织:
src/
├── components/
│   ├── NotificationDisplay.vue    # 子组件,用于展示通知
├── App.vue                         # 父组件,存储通知数组并逐条传递到子组件
第一步:创建子组件 NotificationDisplay.vue
在这一步,我们将创建一个名为 NotificationDisplay.vue 的组件,用于展示每条通知。这个组件每隔一秒会显示一条新的通知。
在
src/components/ 目录下创建一个新的文件,命名为NotificationDisplay.vue。将以下代码粘贴到
NotificationDisplay.vue 文件中:vue<template> <div v-if="visible" class="notification"> <h3>{{ notification.title }}</h3> <p>{{ notification.content }}</p> </div> </template> <script> export default { props: { notification: { type: Object, required: true } }, data() { return { visible: false // 控制通知的显示状态 }; }, methods: { showNotification() { this.visible = true; // 2秒后隐藏通知 setTimeout(() => { this.visible = false; this.$emit("notification-shown"); // 通知父组件当前通知已显示 }, 2000); } }, watch: { // 监听 notification 对象的变化 notification: { immediate: true, handler() { this.visible = false; setTimeout(() => { this.showNotification(); }, 1000); // 延迟1秒展示新通知 } } } }; </script> <style scoped> .notification { padding: 10px; background-color: #42b983; color: white; border-radius: 5px; margin: 10px 0; transition: opacity 0.5s; } </style>
代码解释
Props:子组件通过
props 接收父组件传递的notification 对象,包含通知的标题和内容。Data:
visible 数据用于控制通知的显示和隐藏。Methods:
-
showNotification():每次调用此方法时,会显示通知,并在 2 秒后自动隐藏。 -
notification-shown 事件:当通知显示结束时,向父组件发送事件,通知父组件可以准备下一条通知。
-
Watch:监听
notification 的变化,当检测到新的通知传入时,先隐藏旧的通知,然后延迟 1 秒再显示新的通知。
第二步:编写父组件 App.vue
在父组件中,我们将创建一个包含模拟通知数据的数组,并将这些通知逐条传递给 NotificationDisplay.vue 子组件。父组件会监听子组件的事件,每次子组件显示完一条通知后,再传递下一条。
打开
src/App.vue 文件。将以下代码粘贴到
App.vue 中:vue<template> <div> <h1>通知展示</h1> <NotificationDisplay v-if="currentNotificationIndex < notifications.length" :notification="notifications[currentNotificationIndex]" @notification-shown="showNextNotification" /> </div> </template> <script> import NotificationDisplay from './components/NotificationDisplay.vue'; export default { components: { NotificationDisplay }, data() { return { // 模拟从网络获取的通知列表 notifications: [ { title: "通知 1", content: "这是第一个通知的内容。" }, { title: "通知 2", content: "这是第二个通知的内容。" }, { title: "通知 3", content: "这是第三个通知的内容。" }, { title: "通知 4", content: "这是第四个通知的内容。" } ], currentNotificationIndex: 0 // 当前显示的通知索引 }; }, methods: { showNextNotification() { // 显示完当前通知后,准备下一条通知 if (this.currentNotificationIndex < this.notifications.length - 1) { this.currentNotificationIndex++; } } } }; </script> <style scoped> h1 { text-align: center; color: #333; } </style>
代码解释
Data:
-
notifications:模拟从网络获取的通知数据,这里是一个对象数组,每个对象包含title 和content。 -
currentNotificationIndex:用于跟踪当前显示的通知索引。
-
Methods:
-
showNextNotification():当子组件触发notification-shown 事件后,此方法会被调用,将currentNotificationIndex 加 1,以便展示下一条通知。
-
Template:
-
<NotificationDisplay />:使用NotificationDisplay 子组件,动态绑定notification 数据。 -
v-if 判断:确保在currentNotificationIndex 小于通知数组长度时显示组件,避免超出数组范围。 -
@notification-shown="showNextNotification":监听子组件发出的notification-shown 事件,当通知显示完毕时,父组件会调用showNextNotification 方法。
-
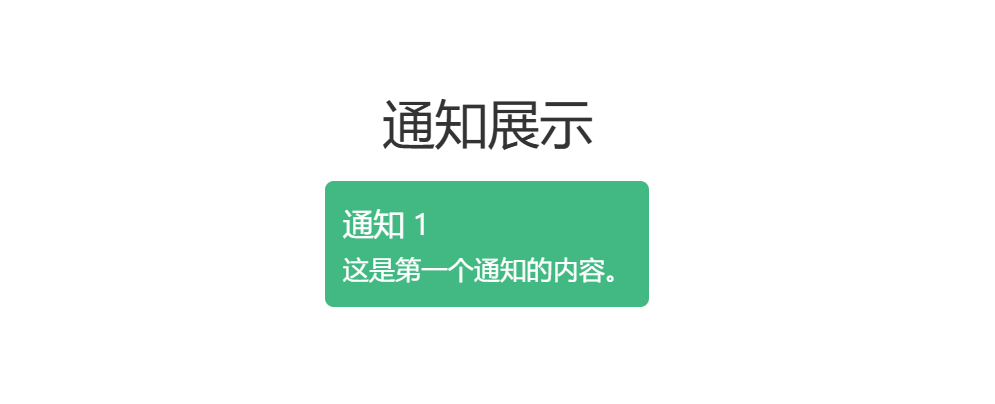
运行效果
- 保存所有文件,并启动开发服务器(在终端中运行
npm run dev)。 - 打开浏览器访问
http://localhost:3000,你会看到页面上展示的通知。 - 每隔一秒,新的通知会依次显示在页面上,每条通知显示 2 秒后自动隐藏。
总结
通过这个Lab,我们实现了一个父子组件之间的数据传递示例:
- 父组件通过
props 将通知数据传递给子组件。 - 子组件在显示完通知后,通过事件将信息反馈给父组件,触发父组件显示下一条通知。
这样的模式在实际项目中非常常见,能够帮助我们有效地管理和传递数据,提高代码的结构化和可维护性。